Step 1: Prepare the Installation Media
- Download the FreeBSD ISO:
- Visit the FreeBSD download page and download the latest stable release ISO image.
- Create a Bootable USB Drive:
- Use a tool like Rufus (Windows), Etcher (Linux/Mac), or dd command (Linux/Mac) to create a bootable USB drive with the FreeBSD ISO image.
Step 2: Boot from the Installation Media
- Insert the Bootable USB Drive:
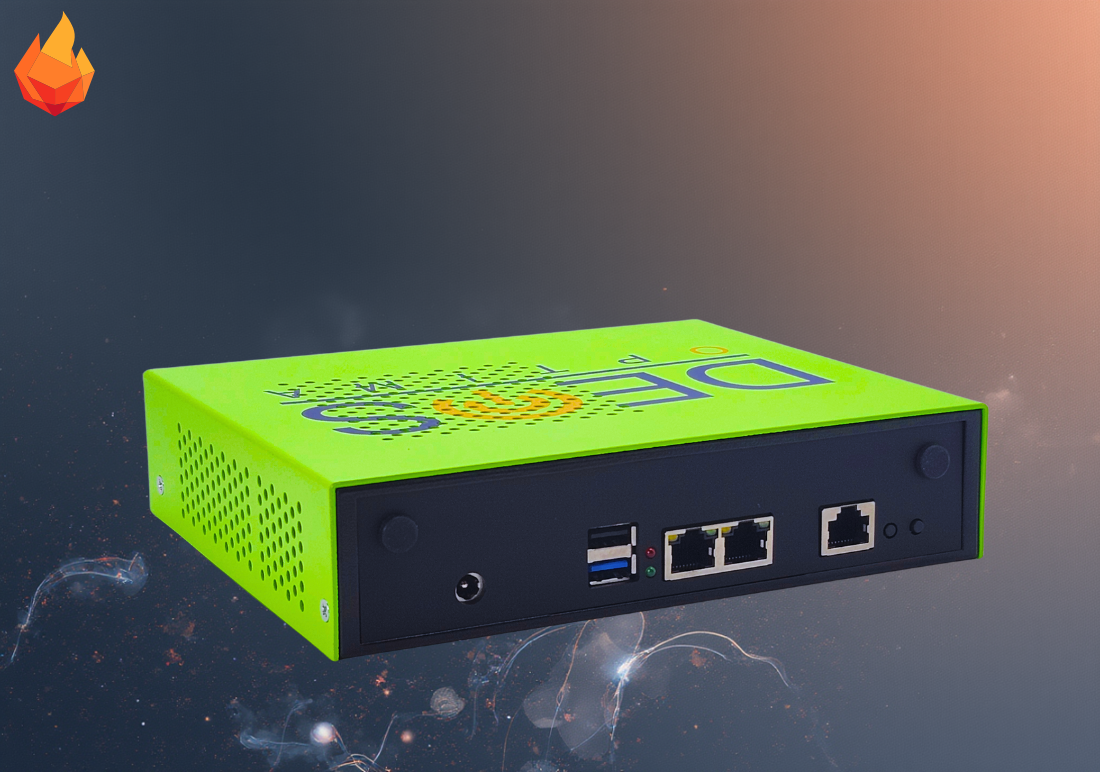
- Insert the USB drive into the BFN5KB system.
- Access BIOS/UEFI Settings:
- Restart the system and press the necessary key (ESC) to enter the BIOS/UEFI settings.
- Set USB Drive as the Primary Boot Device:
- In the BIOS/UEFI menu, set the USB drive as the primary boot device and save the changes.
- Reboot the System:
- Reboot the system, and it should boot from the USB drive into the FreeBSD installer.
Step 3: Install FreeBSD
- Select Installation Language:
- Choose the appropriate language for the installation process.
- Choose Installation Type:
- Select the default installation option (Install).
- Set Hostname:
- Enter a hostname for your system.
- Partitioning:
- Choose the partitioning method. For most users, the “Auto (UFS)” option is recommended.
- If you need a custom partition layout, choose “Manual” and configure partitions as needed.
- Choose the partitioning method. For most users, the “Auto (UFS)” option is recommended.
- Select Disks:
- Select the disk where you want to install FreeBSD.
- Network Configuration:
- Configure the network interface. If you have DHCP, it will configure automatically. Otherwise, you can set a static IP address.
- Select Distribution Components:
- Select the distribution components you wish to install. The default set is typically sufficient.
- Set Root Password:
- Enter and confirm the root password.
- Time Zone Configuration:
- Select your time zone.
- Add User Accounts:
- Add any additional user accounts as needed.
- Final Configuration:
- Review the settings and proceed with the installation.
Step 4: Post-Installation
- Reboot the System:
- After the installation is complete, remove the USB drive and reboot the system.
- Login:
- Log in using the root account or a user account created during installation.
- Update the System:
- Update the system to the latest patches:

4. Install Additional Software:
- Install any additional software you need using pkg:

5. Configure Services:
- Enable and configure any necessary services, such as SSH:

Step 5: Configure System Settings
- Configure Firewall:
- Set up and configure a firewall if needed. FreeBSD includes pf and ipfw as options.
- Set Up Automatic Updates:
- Configure automatic updates for security patches

3. System Tuning:
- Adjust any system tuning parameters as needed in /etc/sysctl.conf.
Step 6: Documentation and Support
- Refer to FreeBSD Handbook:
- The FreeBSD Handbook is an excellent resource for further configuration and troubleshooting.
- Join the Community:
- Participate in FreeBSD forums, mailing lists, or IRC channels for community support.
By following these steps, you should have a functional FreeBSD installation on Boingfire systems. If you encounter any issues or need further customization, refer to the FreeBSD Handbook and community resources for guidance.